The path to better photography is the same as a musician’s route to Carnegie Hall: practice, practice, practice.
But these tips, hacks, ideas and tactics will get you there faster.
Yet there are always exceptions. The better you understand the rules, the better you’ll know when to break them.
Get closer, physically
The more you fill your frame with your main subject, the better your chances of making a powerful image. Robert Capa, the great World War II photographer, was famous for this advice.
Get closer, optically
A telephoto or zoom lens can shrink distances and compress compositions, so you can give viewers a tighter arrangement. (But on your smartphone, the quality/resolution of the image will suffer the more you zoom.)
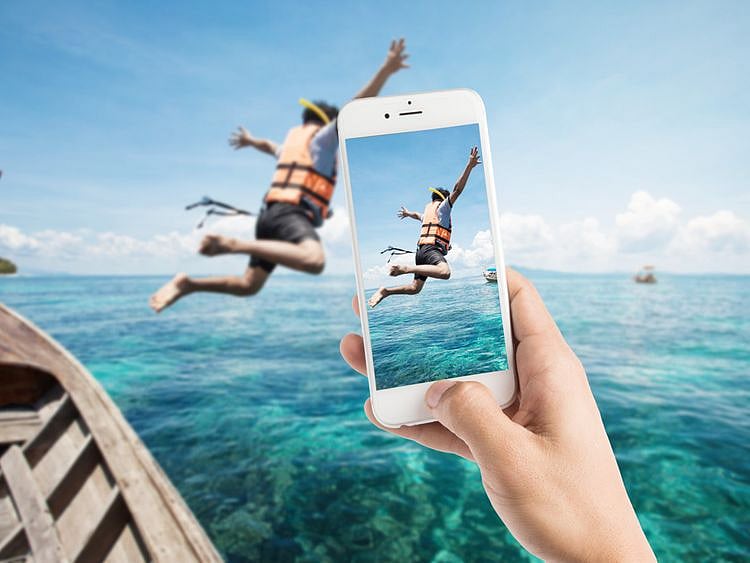
Get closer for Instagram’s sake
If you’re shooting with a smartphone and sharing on social media, most people will see your pictures on tiny screens. That means you need bold, simple compositions. Colourful details work better than broad, subtle landscapes.
Don’t be shy. Or rude
When you can, ask permission before you take a stranger’s picture. You might say: “Excuse me. This setting is gorgeous, and a picture will look even better with a person in it. Would you mind if I include you and your husband/wife/child/pet in part of the frame? I think it’ll look great and I can show you the result. Or share it.”
Look for diagonal compositions
With any camera, beginner photographers are often tempted to compose images whose dominant lines run straight up and down or are as flat as the horizon. But diagonal lines can give pictures depth and lure viewers.
Read the manual
Or at least the good parts. You can’t get the best out of your gear until you understand what it can do.
Match your depth of field to your subject
With a digital single-lens reflex camera (DSLR), if you’re shooting a portrait, there’s a good chance you’ll want a shallow depth of field that leaves your subject’s face sharp but blurs distractions in the background. If you’re shooting a landscape, you’ll probably want maximum depth of field so that everything is sharp. For that result, use a higher aperture (F-stop), which means you’ll be using a slower shutter speed, a higher ISO or both. (You can’t control all these variables on a smartphone but you can use an after-the-snap digital filter to give the effect of selective focus.)
Be patient
An unpopulated great photo location is like a stage set. If you wait a bit, someone will walk or stand or sit in just the right place, and you’ll have a livelier image.
Auto mode will take you only so far
Automatic settings are getting smarter, and all cameras are getting better in low light. But if you’re shooting a small, bright subject against a dark background (or something dark against a bright background), you may get a better result by shooting in manual mode, checking results and rejiggering accordingly. On most smartphones, you can tweak exposure by touching the screen and moving your finger up (lighter) or down (darker).
Follow the Rule of Thirds
Instead of placing your subject dead centre, imagine your frame lined into thirds, horizontally and vertically, so that your image area is sectioned into nine rectangles. Now look at the points where four rectangles come together. Those are sweet spots for placing your subject not too near the middle, not too far off-center.
Simplify your composition
Do your best to exclude everything that might distract from your subject. In particular, watch the corners of your frame where stray details can sneak in.
Digital filters such as those on Instagram can dress up a humdrum photo. And the Snapseed app offers even more options. But great pictures begin with what you capture in the first place.
Shoot angles
Just about everybody looks better if you shoot their face from slightly above, not from below.
Instagram might like squares, but some images want to be vertical or horizontal. Don’t fight that. Turn your camera or smartphone sideways.
Vary your angle. The vast majority of photos are taken by people standing up straight, holding a camera at eye level and shooting a horizontal image. By varying the height of your camera whether by crouching, lying down, climbing a ladder or holding the camera high you give viewers a new way to see an otherwise familiar scene.
Timing is everything
The first and last hours of sunlight are the best time to take photos. Get up a little earlier. If you have a tripod, the half-hour right after sunset can bring dramatic possibilities.
If you’re near water, whether it’s a puddle or the Pacific, keep an eye out for reflection opportunities. The closer you get to the surface, the better the results.
Don’t get lazy with the sunset. A successful sunset shot needs other elements, whether it’s dramatic clouds, crashing surf, calm water or a silhouette or two.
Use a tripod. If a full-size tripod is too much hassle, consider a tabletop tripod or a mini-tripod with bendable legs. They’re affordable and fit in a pocket or backpack.
Sign up for the Daily Briefing
Get the latest news and updates straight to your inbox
Network Links
GN StoreDownload our app
© Al Nisr Publishing LLC 2026. All rights reserved.