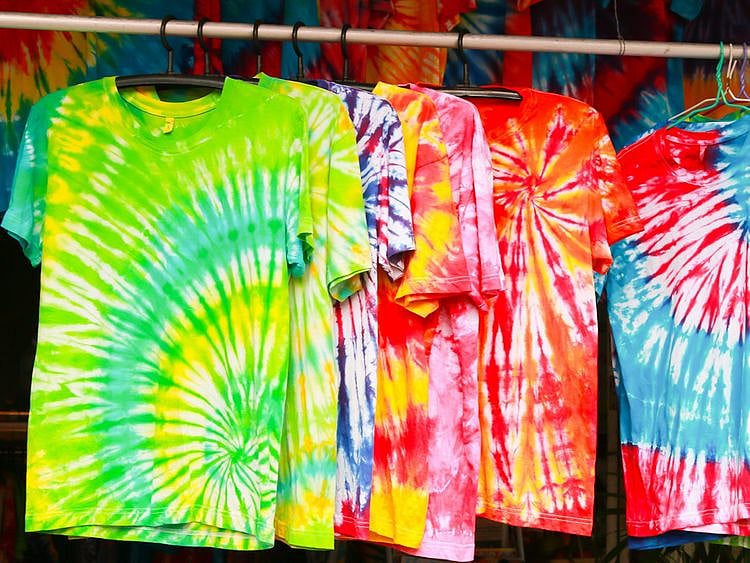
Watch and learn how to tie-dye swirling colours onto your bags and clothes at home
Express your own style with this ancient printing technique

Wearing brightly coloured clothes is an instant mood lift, and when the pattern was dyed by yourself in an attempt to give new life to a light-coloured shirt, it’s even better! Sustainable and environment-friendly practices, fun for family and friends, and a rewarding feeling of satisfaction at wearing your own handiwork are some of the benefits of tie-dyeing your clothes at home.
You can create a typical vibrant swirl of colours from the centre of your shirt or tote bag, asymmetrical patterns or even stripe-like tie-dyes – there are no rules, and it’s always bound to look pretty. If your style is less tie-dye, you can always do it for your kids’ bedsheets and pillowcases for an effortlessly radiant room, or even a beach tote bag, socks and festive shorts.
Here’s how you can do it at home in half an hour, filmed at Dubai Design Week 2021:
What you will need:
Method
1. Clean and dry your t-shirt and bag to make sure they are free of dirt and grease.
2. Mix your fabric dyes – chemically strong dyes can be mixed with corresponding binders and urea as per the instructions, whereas natural and food dyes can be mixed with a little water and vinegar. Fiber and cold reactive dyes (which are good for dyeing at room temperature) are recommended by DIY blogger sarahmaker.
3. Some methods for the process itself include:
• For a traditional spiral twist: Finding the centre you would like to spiral outwards from – place your index finger and thumb there and twist the fabric until you have a closely bunched circle of swirling fabric. Secure it very tightly using rubber bands to make a pizza-like shape. For each pizza triangle, dye a different colour.
• For stripe-like tie-dye: Fold the fabric lengthwise or width-wise by making a small rectangular fold inwards, then lifting the fold and bringing it back to fold it once again from the edge– and repeating until the fabric is entirely folded. This fold is similar to making paper fans and is also called accordion pleats.
Tie the fabric in bunches from end to end very tightly. If desired, you can leave as is, or twist the folded fabric into a spiral and tie it again before dyeing.
• Ice tie-dye for a watercolour splash effect: Lay your damp clothes flat out on a rack (it may be a slightly twisted and folded), place ice cubes on top and pour your dyes as desired on top of the ice cubes. If in powder form, you may sprinkle without adding water beforehand. As the ice slowly melts and seeps into the cloth, it will form colourful splash-like patterns.
• Sunburst: Like the pink and blue t-shirt in the video, you can pull up cones of fabric from the t-shirt and tie them tightly. Apply different dyes at the tip and the rest of the fabric – for a final look of gradations of colour bursting outwards.
4. Apply the dye onto the fabric using squeeze bottles. Let it rest from 12 to 24 hours, depending on the requirements of the fabric dye you have used.
5. Unfurl the fabric, wash off the loose dye until the water runs clear and dry for your tie-dyed look!
Network Links
GN StoreDownload our app
© Al Nisr Publishing LLC 2025. All rights reserved.