Please register to access this content.
To continue viewing the content you love, please sign in or create a new account
Dismiss
This content is for our paying subscribers only

Friday Home

Video on how to make personalised DIY resin coasters

Resin coasters are the perfect DIY home décor project for beginners


Make stunning resin coasters with simple items for a pop of vibrant colour to your interiors
Image Credit: Anas Thacharpadikkal/Gulf News

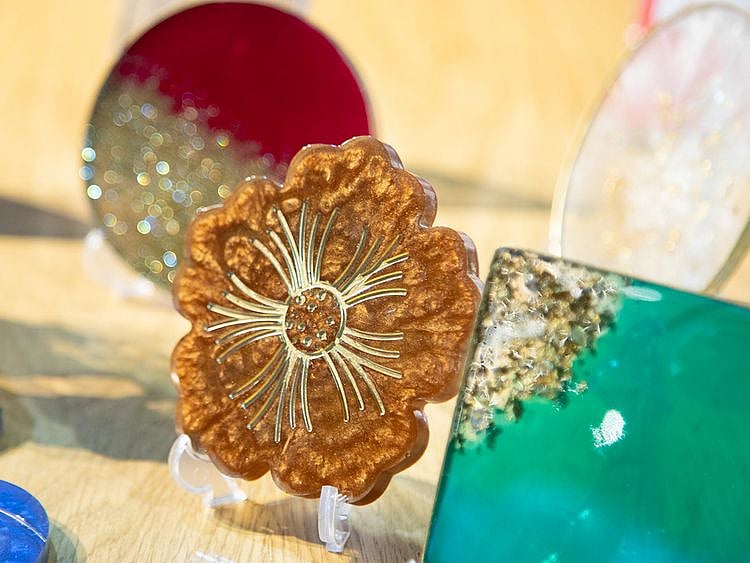
Looking to add a luxurious touch to your home but don’t want to hurt the wallet? Resin coasters are an easy project for DIY amateurs. These DIY coasters contain gold flakes, metallic powders and glitter, but the possibilities are endless – dried flowers, beads, and sequins are just a few options you can use. Resin coasters require patience, just like any other DIY project, but the end result is worth it. These dazzling resin coasters catch the eye and will have people think you got them from an upscale store.

Whether it’s a gift or you’re just making it yourself, here’s how to make resin coasters by resin artist, Micah Furtado (@maricah_creations).

Materials

  1. Disposable gloves
  2. Plastic table covers
  3. Disposable apron
  4. Mixing cups
  5. Popsicle sticks to mix and create patterns
  6. Resin and hardener
  7. Powders
  8. Glitter
  9. Gold flakes
  10. Silicone coaster mould

Method

  1. Make sure you’ve put your gloves and apron on to protect your skin and clothing. Resin on the skin can cause itching, swelling and a slight stinging sensation.
  2. Most resin kits contain both resin and hardener. You will need to mix both to create the resin coasters.
  3. First, read the instructions on the packaging of your resin. This is specific to each resin and hardener. Pour equal amounts of each into one cup.
  4. The resin and hardener should be at room temperature. If it’s too cold or hot, this can cause bubbles and a gummy texture. Bring it to room temperature before pouring.
  5. Once the mixing is done, choose your colour, glitter or powder. If you’re choosing gold flakes, you can put them at the bottom of the silicone mould or on top of the resin.
  6. Stir in the powdered colours or glitter into the resin mixture in the cup. The colour has to be mixed into a resin cup before pouring it into the silicone mould.
  7. Before you start pouring make sure the silicone mould is clean of any dirt or debris. Pour in the mixture until the mould is entirely covered and full.
  8. When the mixture is in the mould, use an alcohol spray to get rid of any air bubbles.
  9. Then, add gold flakes, beads or any other decoration of your choice on top. You can even use the stick to create swirl patterns with glitter. Let your imagination go wild, as there is no specific design for resin coasters.
  10. The cure time is different for each resin kit. The cure time for the resin is usually 24 hours. After 24 hours the resin coaster will be solid. The cure time is affected by temperature. Room temperature facilitates the process of curing. The cold temperature slows down curing.
  11. Once the coaster is cured and solid, carefully remove the resin coaster from the mould, and there it is your very own resin coaster.
Advertisement