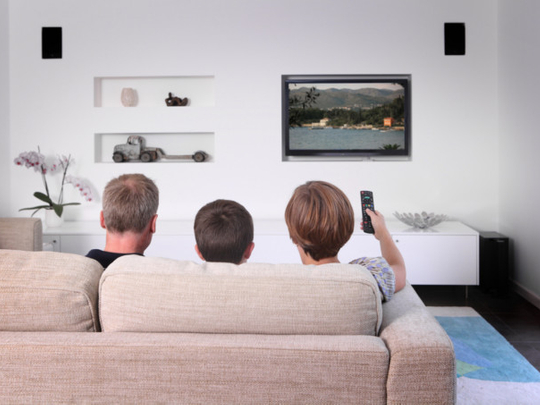
Buying a great home theatre system is rather pointless if you don’t use it optimally. It is like buying a race car and driving it at max 40mph! But with a few simple tweaks and fine tuning, you can extract the best from your audio video set-up.
Step 1: Room with a view
Understand the characteristics of the room where you are setting up the home theatre. The perfect listening rooms are empty anechoic chambers that absorb sound, letting you hear only what is coming directly from the source. But at your home, what you will end up listening to will be a complex mix of audio from the speakers plus reflected waves from the ceiling, walls, furniture and even people and pets. Add to that the sound from the kitchen, from outside and the AC humming away.
Without substantial investment, you will never get the perfect setting. But you can come close enough. Minimise intrusions by moving furniture around, using flat paint on the walls, laying out carpets and other sound absorbing material, keeping doors and windows shut when the system is on. Finally, ensure that the amplifier and other equipment is in a well-ventilated part of the room and not sticking too close to the wall. Excess build-up of heat tends to drastically reduce the lifespan of your electronics. Plus, if there are cooling fans inside, they kick in rather noisily.
Step 2: Viewing angle, distance and height
One point often overlooked is the height at which the big-screen TV is placed and the ideal distance from which you should watch it. If you get this wrong, brace yourself for neck pain and discomfort over extended periods of TV viewing.
A general rule of thumb is that the viewing distance equals TV size divided by 0.55 — so if the TV display is 40 inches, you should watch from 40/0.55, which roughly works out to a distance of 73 inches between you and the TV. To get the right height at which you should mount the TV, take the viewing distance and multiply it by 0.22. In the previous example, it will be 73x0.22, which rounds off to 17 inches. Then sit on the sofa/chair and calculate the height at which your eyes are. Add it to our previous result. So, if your eyes are at a height of 40 inches from the floor, you get 40+17=57 inches. Well, that’s the height at which the midpoint of the TV should be from the floor. Incidentally, the recommended viewing angle is up to 30 degrees, which is good enough to accommodate a family in its arc. But do check the TV specs for brand-specific variations.
Room lighting is another topic you should pay heed to — avoid direct sunlight, spotlights or anything that glares off the screen. Do not place the TV near open windows, your eyes will have a tough time adjusting to the differences in brightness. However, it is a good idea to have a dull light glow behind the TV like a halo, it helps adjust your eyes better.
Step 3: Speaker placement
Maintain a direct line of sight with the speakers, especially the fronts and the centre. Minimise reflections by keeping them away from walls, and slightly toed in, angled inwards towards the centre of the room. The exception would be speakers with backfiring bass ports and bipoles or dipoles, which deliberately use walls to create a diffused sound field. Also, the subwoofer goes close to a wall if it is side-firing. If it is down-firing, it really does not matter where you tuck it away. Since a lot depends on the type of speakers you have bought, always check the manufacturer’s recommendations on placement. You could also test out the official Dolby, DTS or THX advisory. Yes, speaker positioning is a tedious job, but once you get it right, you don’t have to move them around for years!
Step 4: Getting the sweet spot
Closely related to speaker placement is the quest for the sweet spot. As the name suggests, it is a zone in which the speakers envelope you in audio bliss. Our goal is to ensure this zone is located on the sofa or chair from which you will watch TV or listen to music. Getting it right used to be a long-winded affair, but now most good receivers come with bundled programmes that automate the process. All you have to do is place the included mic in your target area, and the amplifier will figure out the distance, the audio delays and volume levels required for each speaker so that the audio reaches you from all sides in perfect harmony.
Step 5: Cable management
Depending on the size of your rooms, you might need a spindle or two of heavy gauge speaker cables. Obviously, there are aesthetic challenges here, but you can minimise the ungainly sight of speaker cables snaking all over the room by concealing them in walls, behind raceways, or even literally shoving them under the carpet. Or you could opt for wireless speakers, but note that the word wireless is a bit misleading. Instead of dealing with a speaker cable, you will now have to contend with a power cable to keep wireless speakers running. But if plug points are readily available on all walls, this would be a lesser headache. Yes, cable management is an art in itself. But done well, your home theatre will blend into your home, rather than scarring it.


